Raspberry Pi 2 Initial set-up and configuration with NOOBS / Raspbian
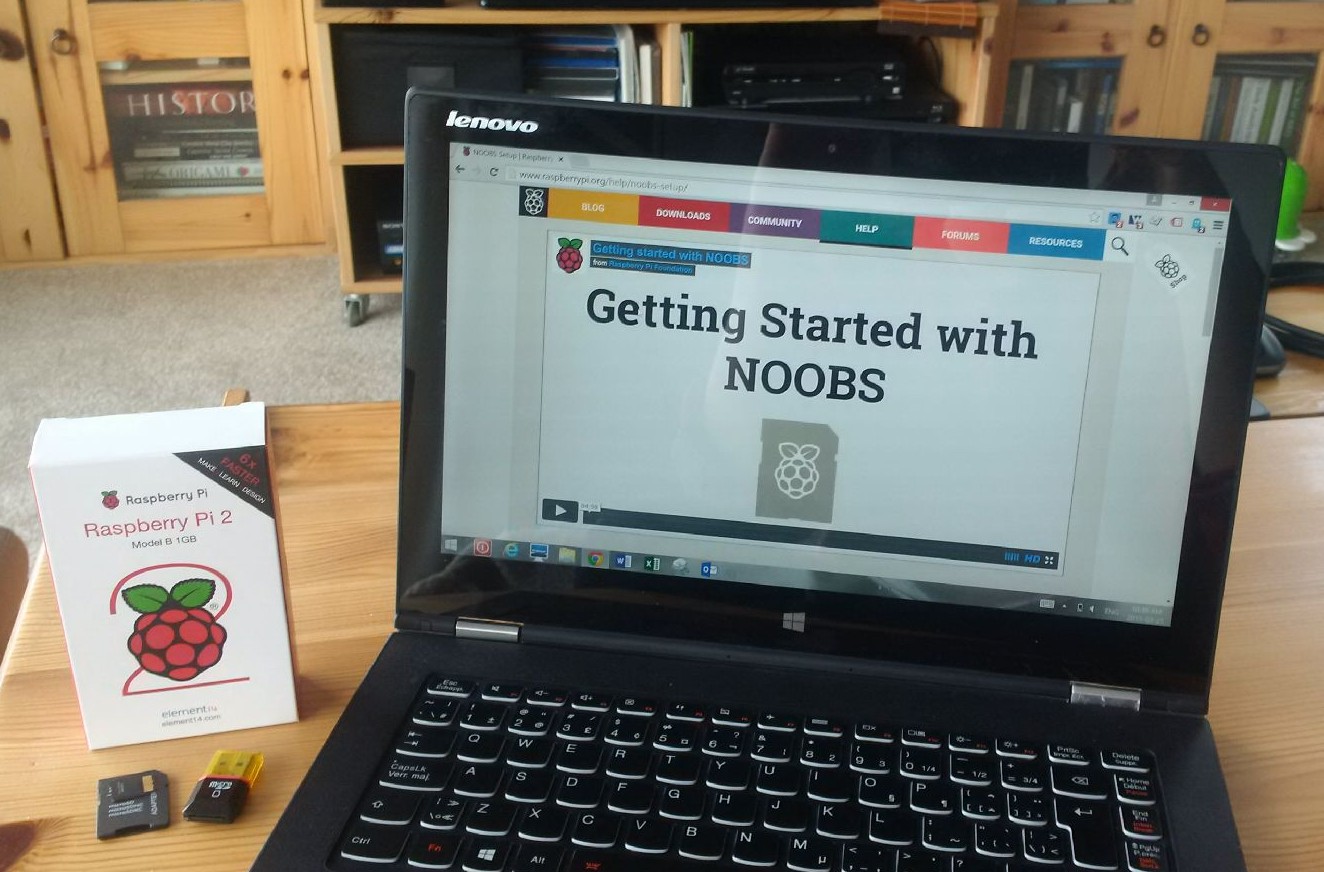
Unlike the Arduino, the Raspberry Pi is not a micro-controller, but rather a small, bare-bones computer that needs an operating system in order to run. The most popular OS for the Raspberry Pi currently is a version of Linux, called Raspbian, specifically optimized for its hardware. I plan to use Raspbian exclusively on my new Raspberry Pi 2 and this posts assumes you will be too.
Things you will need to set-up your Raspberry Pi 2:
- A computer with internet access to download the required software for the Raspberry Pi.
- An 8 gig (for some extra space, a 4 gig one should work too) Micro SD card. You also need a way to write to the card either by using the SD card slot in your laptop, or a USB SD/Micro SD Card Reader/Writer.
- A HDMI display (computer monitor, or TV) and an HDMI cable. A DVI display will work as well, if you have a HDMI to DVI cable/adapter.
- A USB keyboard and a USB mouse. Wireless ones will work most of the time, but if you run into problems, try the “old school” wired versions. After the initial set-up, you can configure remote access to your Raspberry Pi, from another computer and drop the peripherals and the extra monitor.
- 5 Volt micro USB power supply that can provide at least 1.2 A, with a 2.5 A recommended if you plan to use all 4 USB ports of the Pi. Here is more info on the Raspberry Pi power requirements.
- Internet connection via an Ethernet cable, or a WiFi adapter to update the software. One of my two WiFi adapters did not work with the Pi, so I recommend to use the Ethernet cable for the initial set-up. I will cover the WiFi configuration in a follow-up post.
Formatting the SD Card
The Micro SD card for the Raspberry Pi 2 needs to be formatted using the FAT32 format. To do that you can use the SD Formatter program by SD Associates, available for Windows and for Mac. For Linux, the Raspbian.org start-up guide recommends GParted, a free application for managing disk partitions using a graphical interface. On my old Ubunto laptop, I had to install the package with “apt-get” and run it as administrator.
Regardless of the tool you use, be very careful to select the correct drive / partition where your SD card is! A mistake here could potentially wipe-out your computer’s hard-drive!
Once you open the respective program, follow the menus to delete the existing contents of the SD card and format it using FAT32. Once you have an empty micro SD card formatted correctly, you are ready to copy the Raspberry Pi OS on it.
A word of caution: some SD cards work better than others with the Raspberry Pi. I had no problems with three different cards, and then 2 new 16 gig Adata cards both kept crashing the Raspberry Pi during boot up. Both work great in my camera, or with my USB SD card reader. Bottom line: if you get errors during install, or boot, try a different Micro SD card before wasting hours troubleshooting.
Getting the latest version of Raspbian
The easiest way to install Raspbian is through the NOOBS install manager (New Out Of the Box Software). You can download the latest version from the Raspberrypi.org web-site. You may be prompted with several download options on that page. Choose the “full” version of NOOBS, it should be the top / first option.
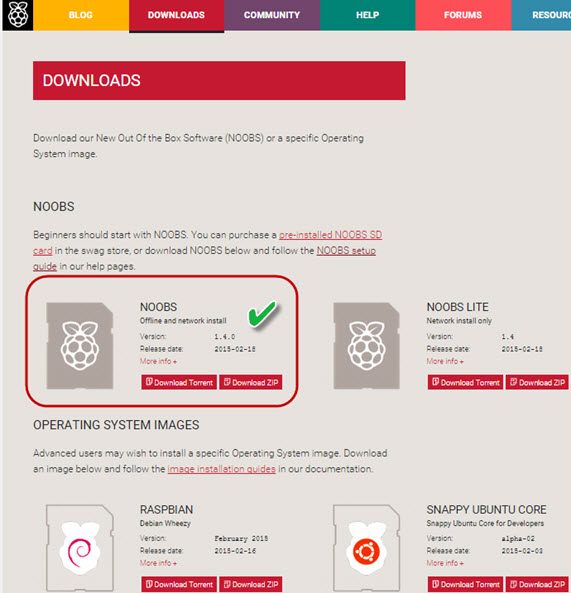
The NOOBS Lite version will require the Pi to download files from the internet, during the install process. I prefer to minimize complications during install, so I used the full version.
The download links on the page will point to specific operating system images. You can use those images to install a certain operating system directly, without going through the NOOBS install manager. This process is for “advanced users” only.
Once you download the (rather large) NOOBS zip file, you need to extract its contents and copy it to the empty and correctly formatted Micro SD card from the previous step.
Raspberry Pi 2 Raspbian install and first boot
The next step is to insert the Micro SD card in the Raspberry Pi, connect the mouse, keyboard, ethernet cable (optional) and the monitor. Once all is in place, plug in the power. The Raspberry Pi does not have an “on / off” button, so it will start the boot process, once the power adapter is plugged in. After a few moments the screen will show a splash of colour and then the following menu will appear:
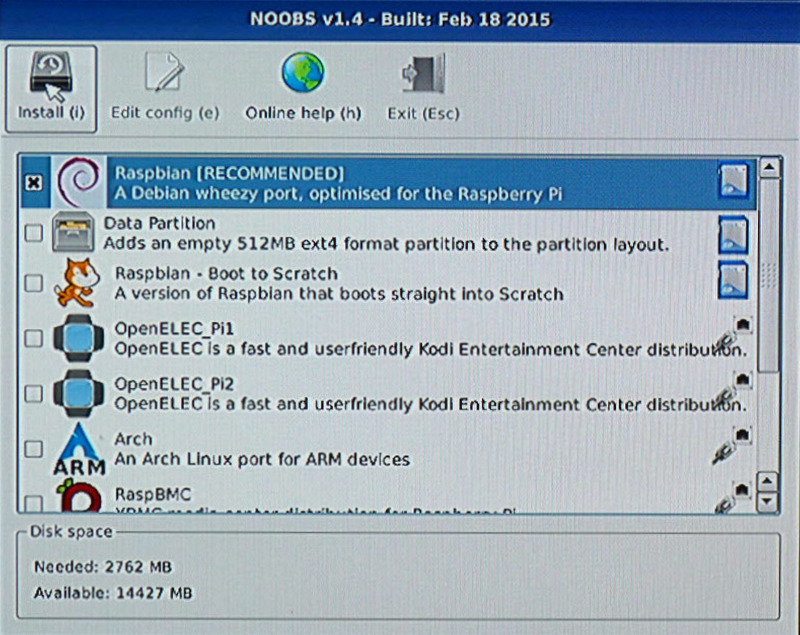
Using NOOBS you can install one or more operating systems on the Rasperry Pi. If you choose to load multiple operating systems, make sure you have enough space on the SD card. You will prompted to choose which operating system to use each time the Raspberry Pi boots.
The Data Partition option adds a data partition that can be used to share data between the different OS systems (if you install more than one). This data *should* also be kept intact, if you need to use the option to recover a corrupted installation of your OS. I have never used this option, personally.
At the very bottom of the screen (not shown in the image above) you can choose language and keyboard layout settings. The default is U.K. English, naturally.
As we want to use Raspbian exclusively, select the top option only and click on Install (i). You will be presented with a warning that all existing data on the SD card will be erased. Confirm that you are OK with this, and the install process will begin. This will take a while, so grab a drink and get comfortable.
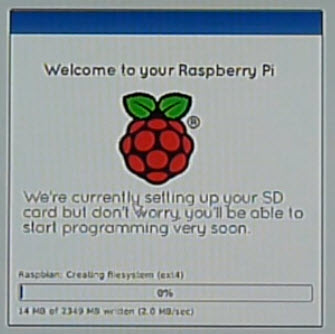
After a while and if all is well, you should see this:
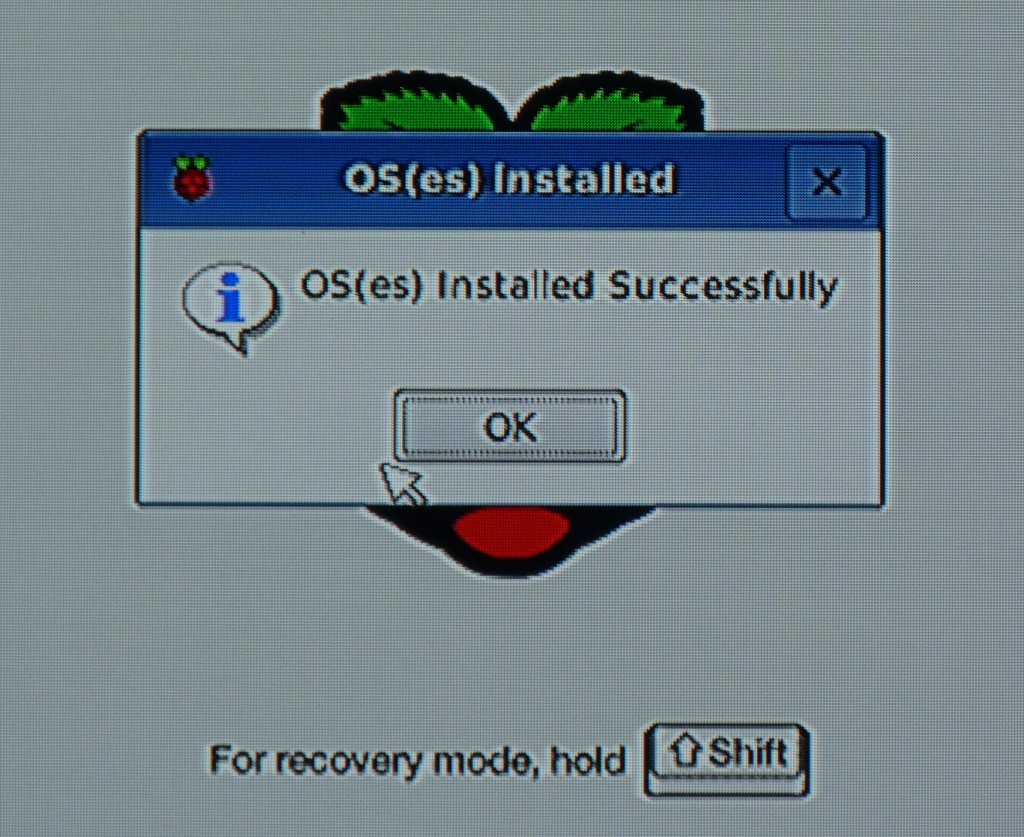
Once you click OK, the Raspberry Pi will boot Raspbian for the first time. You will see a seemingly endless stream of text flow down on the screen and then a the following menu should appear:
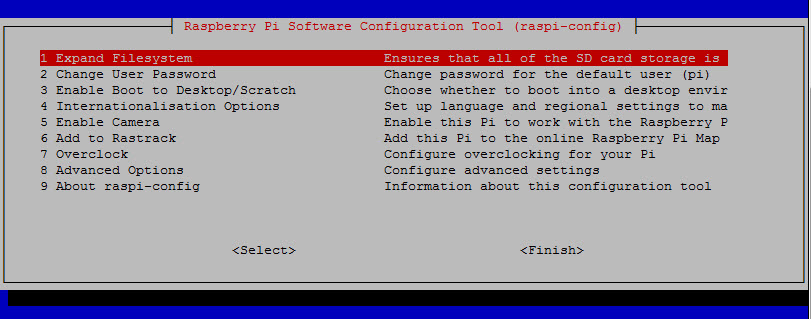
Here you can change the default password for the “pi” user (raspberry) and configure many additional options like language and keyboard layouts, whether the Raspberry Pi boots to a terminal window, or in the graphical desktop environment, overclocking and so on. Here is a full description of the various menus and features you can configure. To navigate in the menu, you need to use the arrow and tab keys on your keyboard.
The defaults will work just fine to start with, so you do not need to change any thing at this point. You can always bring up this menu any time by typing the following in the terminal:
sudo raspi-config
When you are ready to move on, tab to the <Finish> option and hit Enter. Depending on what options you changed, you may be prompted to reboot, or to log in. Remember that both the username and password are case sensitive. At the end you will see the the following on the terminal:
pi@raspberrypi ~ $
You can type commands and start programs from the terminal, or launch the Raspbian graphical interface by typing startx in the terminal window and pressing enter. After a few seconds, you should get to a screen like that:
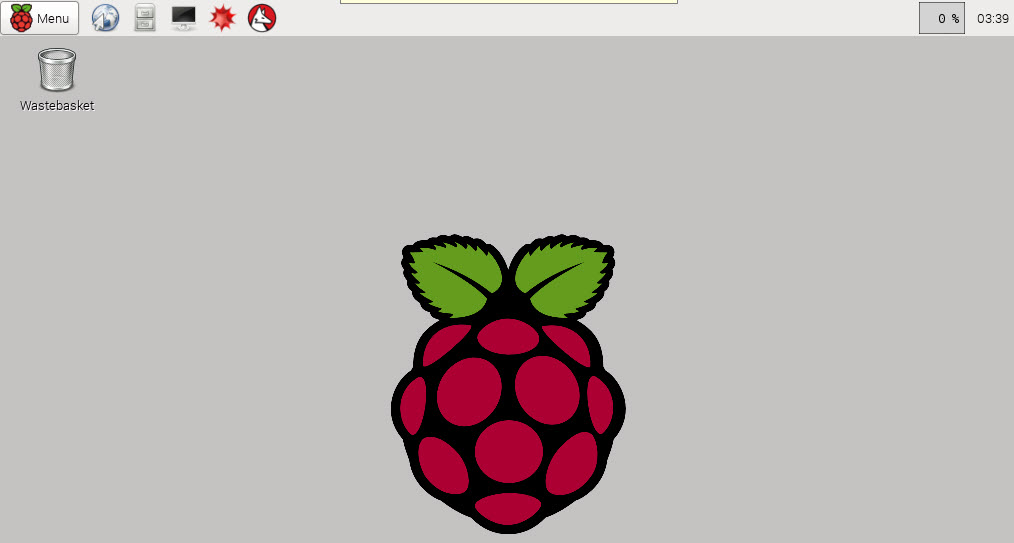
You are done with the set-up and are ready to start exploring your pi! You can open a browser, play games, or start programming in Python, or Scratch from here. All these programs, and many others come pre-installed with Raspbian.
If you have connected an ethernet cable to Raspberry Pi and have internet connection, you can update the OS and other packages to the latest version. Open the terminal window and type the following two commands (hit Enter after each one):
sudo apt-get update
sudo apt-get upgrade
You may be promoted to confirm the changes, if any packages are to be upgraded. Then you will see a number of messages on the screen and at the end the familiar prompt and blinking cursor will appear:
pi@raspberrypi ~ $
Once all is done, it is a good idea to back up the SD card. Just copy all the files back to a folder on your PC and save it for later. it is always good to keep a clean OS image, in case you mess up something. Also, if you have multiple Raspberry Pis (yes, this is the official plural of Raspberry Pi, according to the Raspberry Pi Foundation) you can use the same OS image (same SD card even) for all of them. Saves you the time to go through the long install process each time.
If you do not plan to keep a monitor, keyboard and mouse permanently attached to your Raspberry Pi, you can follow the next post in the Raspberry Pi series to configure remote access to both the Raspberry Pi terminal and graphical desktop with SSH and VNC, respectively.
Awesome post.